Table of Contents
Ready to take the plunge and adorn your legs with some incredible ink? Leg tattoo ideas stencils are your gateway to expressing yourself through body art. Whether you're a first-timer or a seasoned tattoo enthusiast, finding the perfect design and ensuring a clean application is key. This guide is designed to walk you through the exciting world of leg tattoos, from sourcing inspiration and creating your own stencils to mastering placement and aftercare.
Finding the Perfect Leg Tattoo Design: Stencils and Inspiration
Finding the Perfect Leg Tattoo Design: Stencils and Inspiration
Dive into the World of Leg Tattoo Styles
So, you're thinking about a leg tattoo? Awesome! The first step is figuring out your style. Are you drawn to minimalist designs, intricate floral patterns, bold geometric shapes, or something totally out there? Think about what resonates with you. A leg tattoo is a statement, so make sure it speaks your language.
Consider the placement, too. A thigh tattoo offers a larger canvas, perfect for detailed pieces, while an ankle tattoo can be subtle and delicate. A calf tattoo is great for showcasing a design that flows with the muscle. Don't be afraid to browse online, check out tattoo artist portfolios, and gather inspiration from various sources. Pinterest and Instagram are goldmines for tattoo ideas!
Sourcing and Evaluating Leg Tattoo Stencils
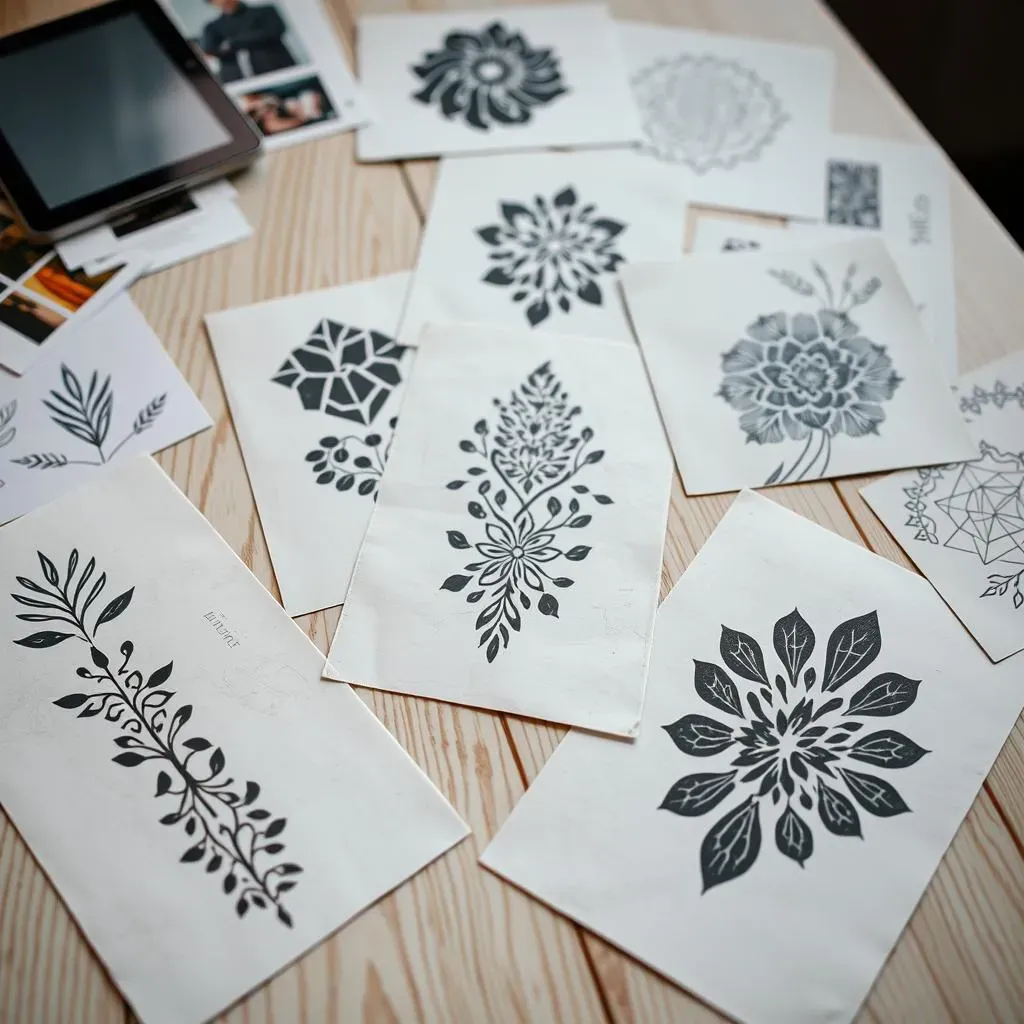
Once you have a design in mind, it's time to think about stencils. A stencil is essentially a template that the tattoo artist uses to transfer the design onto your skin. You can find pre-made stencils online or at tattoo supply shops. But here's the thing: not all stencils are created equal. Look for stencils that are clean, crisp, and accurately represent the design you want.
If you're going the DIY route, make sure you use high-quality stencil paper and a reliable transfer method. And remember, a good stencil is crucial for a good tattoo. A poorly made stencil can lead to blurred lines, uneven shading, and an overall disappointing result. So, take your time, do your research, and don't be afraid to ask your tattoo artist for their opinion on the stencil you've chosen.
Stencil Quality | Potential Outcome |
|---|---|
High-Quality, Crisp Lines | Clean, Accurate Tattoo |
Low-Quality, Blurred Lines | Blurred Lines, Uneven Shading |
DIY Leg Tattoo Stencils: Creating Your Own Unique Designs
DIY Leg Tattoo Stencils: Creating Your Own Unique Designs
Unleash Your Inner Artist: Designing Your Own Stencil
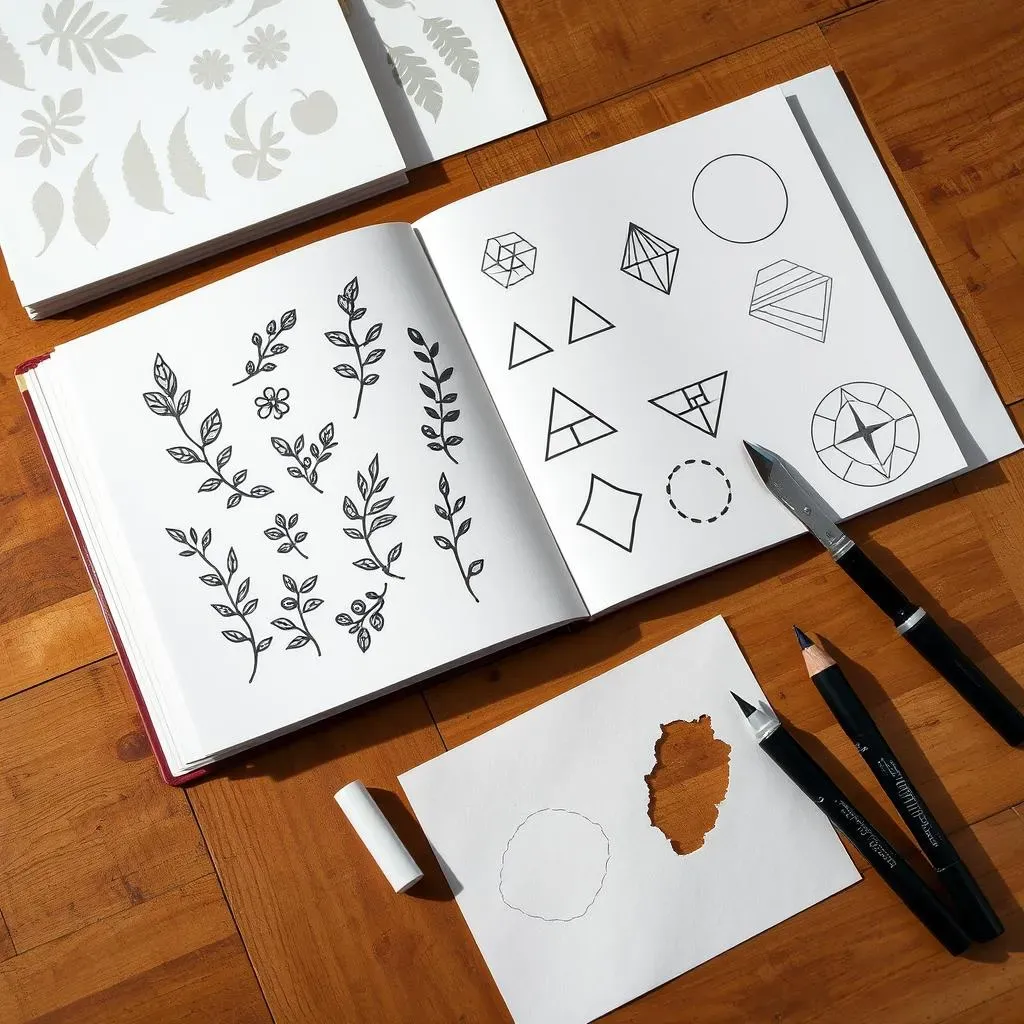
Alright, so you're ready to take the reins and craft your own leg tattoo stencil? This is where things get really exciting! First off, grab a sketchbook and start brainstorming. Don't hold back – let your imagination run wild! Think about the elements that resonate with you: nature, geometric patterns, abstract shapes, or maybe even a quirky illustration. Once you have a few ideas sketched out, refine them until you have a design you absolutely love. Remember, this is going to be on your leg, so make sure it's something you'll be happy with for years to come.
Next, consider the size and placement. A larger design might work best on your thigh, while a smaller, more delicate design could be perfect for your ankle or calf. Think about how the design will flow with the natural curves of your leg. Once you have a solid idea of the size and placement, it's time to transfer your design onto stencil paper. You can either trace your design directly onto the stencil paper or use a digital design program to create a more precise template. There are tons of free or affordable software options out there, like Inkscape or GIMP, that can help you create professional-looking stencils.
If you're tracing, use a fine-tipped marker to ensure crisp, clean lines. If you're using a digital program, print out your design onto stencil paper using a laser printer. Laser printers create sharper, more durable stencils than inkjet printers. Once your design is on the stencil paper, carefully cut it out using a precision knife or scalpel. Take your time and be precise – the cleaner the cut, the better the stencil. And there you have it – your very own custom leg tattoo stencil, ready to be transformed into a stunning work of art!
Placement and Sizing: Optimizing Your Leg Tattoo Stencil
Placement and Sizing: Optimizing Your Leg Tattoo Stencil
Consider the Canvas: Mapping Your Leg
Alright, so you've got your stencil ready to roll. Now comes the crucial part: figuring out exactly *where* on your leg this masterpiece is going to live! Your leg isn't just a blank slate; it's a dynamic landscape of curves, muscles, and natural contours. Understanding this "canvas" is key to a tattoo that not only looks good but also complements your body's natural form. Think about the flow of your muscles – a design that follows those lines will look way more integrated than one that fights against them.
Grab a mirror, stand in front of it, and really study your leg. Where are the natural curves? Where are the flatter areas? How does your leg move when you walk or sit? All of these factors will influence how the tattoo looks and feels. For example, a design that stretches too much when you sit down might become distorted or uncomfortable. Similarly, a design placed too close to a joint might rub and fade more quickly. Take your time, experiment with different positions, and get a feel for what works best for you.
Size Matters: Proportionality and Detail
So, you've found the perfect spot on your leg, but now you need to nail down the size. This is where proportionality comes into play. A tiny design on a large thigh might get lost, while a massive design on a slender ankle could feel overwhelming. Think about the overall balance and how the tattoo will relate to the rest of your body. A good rule of thumb is to start with a size that feels comfortable and then adjust it slightly based on the level of detail in the design. Intricate designs need more space to breathe, while simpler designs can often work well in smaller sizes.
Don't be afraid to mock up the tattoo on your leg using temporary tattoos or even just a marker. This will give you a much better sense of how the size and placement will look in real life. Take a few steps back and look at the overall effect. Does it feel balanced? Does it draw the eye in a pleasing way? If something feels off, don't be afraid to make adjustments. Remember, you're aiming for a tattoo that not only looks good up close but also from a distance.
Leg Area | Recommended Size Considerations |
|---|---|
Thigh | Larger designs, ample space for detail |
Calf | Medium to large, consider muscle flow |
Ankle | Smaller, delicate designs |
The Artist's Eye: Consulting with Your Tattoo Professional
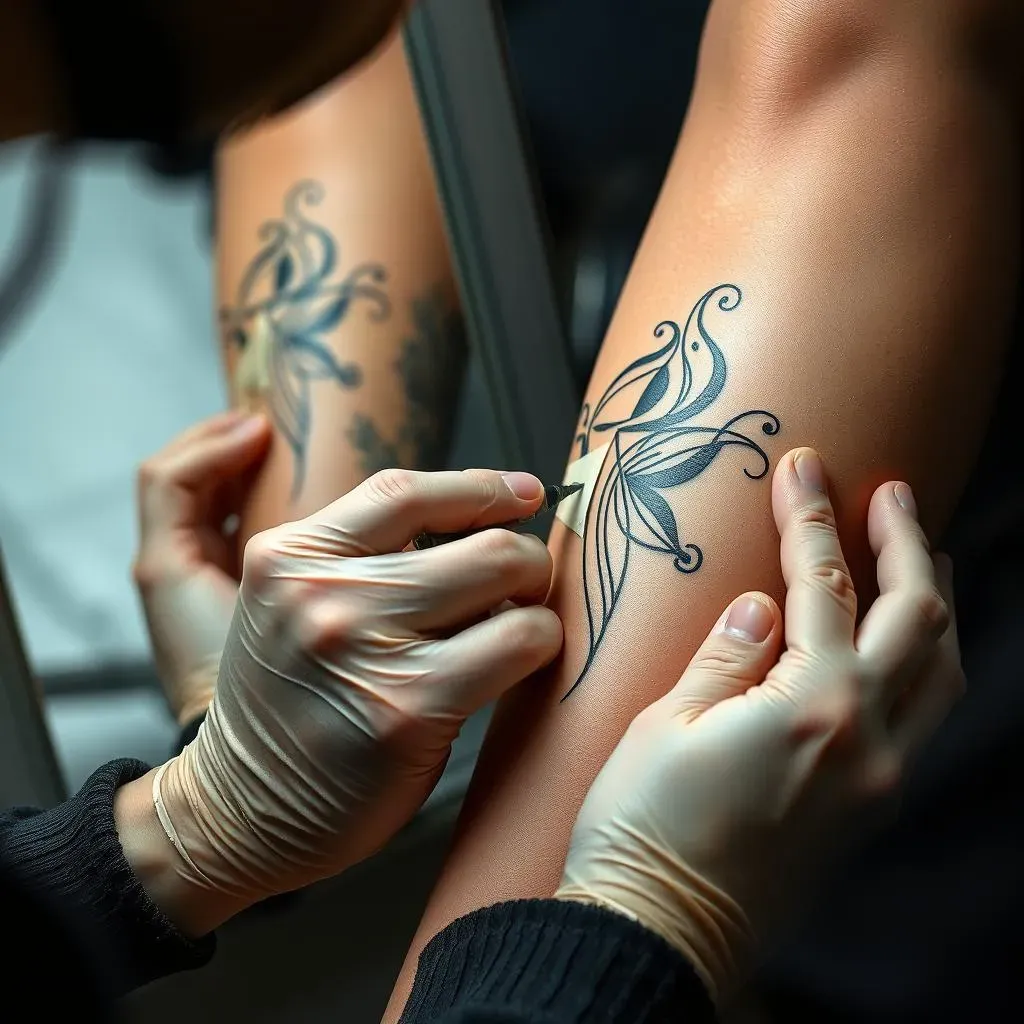
You've done your research, you've considered the placement and size, and you've got a pretty good idea of what you want. But before you commit, it's always a good idea to consult with your tattoo artist. They're the pros, after all, and they can offer valuable insights and suggestions that you might not have considered. They can assess your skin type, evaluate the design's suitability for the chosen location, and provide advice on any potential challenges or adjustments.
Don't be afraid to ask questions and share your concerns. A good tattoo artist will be happy to work with you to ensure that you're completely satisfied with the final result. They can also help you fine-tune the stencil, making sure it's perfectly sized and positioned for your leg. Remember, communication is key to a successful tattoo experience. By working together with your artist, you can create a leg tattoo that you'll love for years to come.
Leg Tattoo Stencil Aftercare: Ensuring a Flawless Finish
Leg Tattoo Stencil Aftercare: Ensuring a Flawless Finish
The First Few Hours: Protecting Your Investment
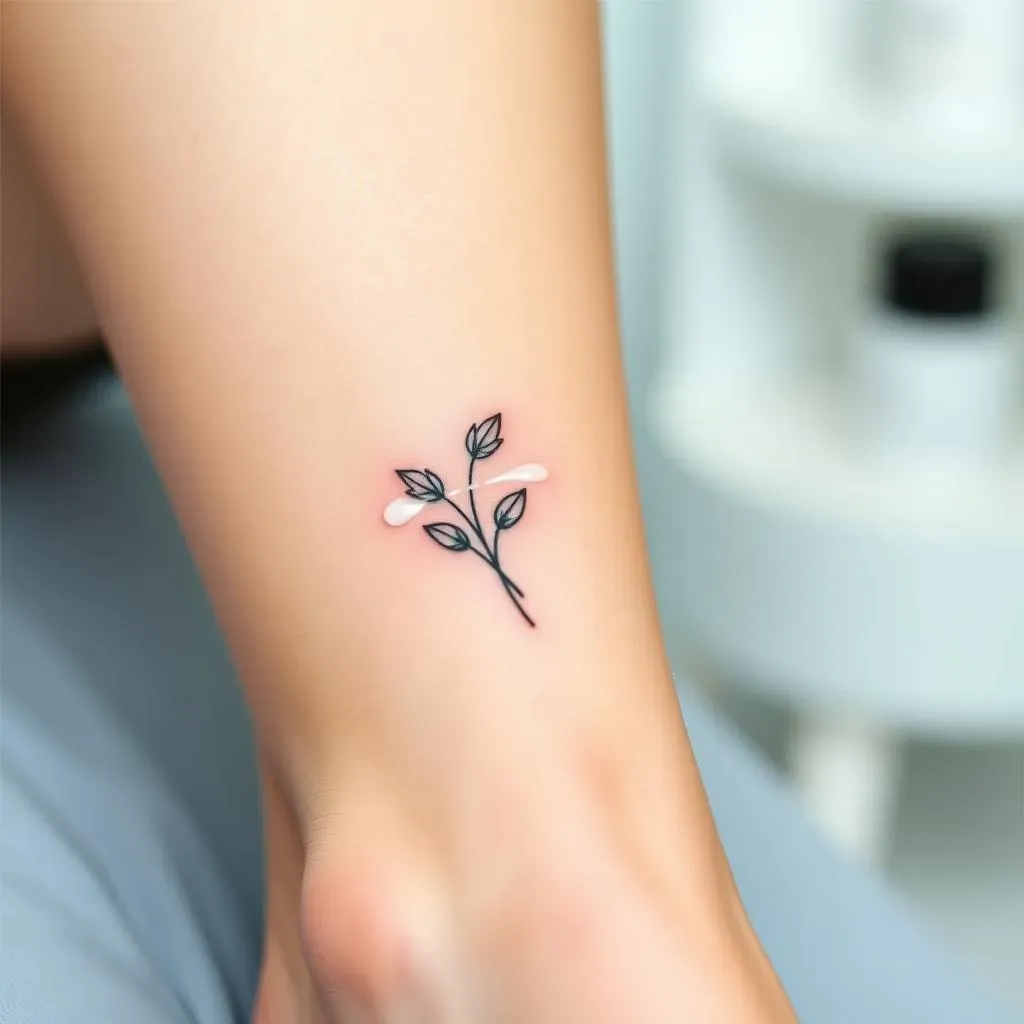
you've got your awesome new leg tattoo, the stencil is gone, and now it's all about aftercare. Those first few hours are super critical! Your tattoo artist has likely wrapped it up with a bandage or some kind of protective film. Leave that on for as long as they recommend – usually a few hours, but listen to their specific instructions. This bandage is your tattoo's first line of defense against bacteria and other nasties that could cause an infection. Think of it like a little shield protecting your fresh ink.
Once you remove the bandage, gently wash the tattoo with lukewarm water and a mild, fragrance-free soap. Avoid anything harsh or abrasive, as this can irritate the skin and damage the tattoo. Pat it dry with a clean paper towel – cloth towels can harbor bacteria. And resist the urge to re-bandage it! Your tattoo needs to breathe to heal properly.
The Healing Process: Moisturizing and Monitoring
Now comes the long game – the healing process. This can take anywhere from 2 to 4 weeks, depending on the size and location of your tattoo. The key here is consistent moisturizing. Apply a thin layer of a fragrance-free, hypoallergenic lotion or tattoo balm several times a day. Aquaphor or specialized tattoo aftercare products are great choices. The goal is to keep the skin hydrated without suffocating it. Avoid thick, greasy ointments like petroleum jelly, as these can clog pores and hinder healing.
Keep a close eye on your tattoo during this time. It's normal for it to be a little red and swollen at first. You might also experience some itching and flaking. Resist the urge to scratch or pick at the scabs! This can pull out the ink and cause scarring. If you notice any signs of infection, such as excessive redness, swelling, pus, or fever, contact your tattoo artist or a doctor immediately.
Aftercare Step | Frequency | Product |
|---|---|---|
Washing | 2-3 times daily | Mild, fragrance-free soap |
Moisturizing | Several times daily | Fragrance-free lotion or tattoo balm |
Long-Term Care: Protecting Your Ink for Life
So, your tattoo is fully healed – congrats! But the aftercare doesn't stop there. To keep your leg tattoo looking its best for years to come, you need to protect it from the sun. UV rays can fade the ink and damage the skin, so always apply a high-SPF sunscreen to your tattoo whenever you're going to be exposed to the sun. Clothing can also provide some protection, but sunscreen is always a good idea, especially during peak sun hours.
Also, be mindful of activities that could irritate your tattoo, such as tight clothing, excessive sweating, or harsh chemicals. Avoid prolonged soaking in water, like swimming pools or hot tubs, as this can leach the ink and cause fading. And finally, stay hydrated and maintain a healthy lifestyle. Healthy skin is happy skin, and happy skin means a vibrant, long-lasting tattoo.
Leg Tattoo Ideas Stencils: The Final Word
Exploring the realm of leg tattoo ideas stencils opens up a world of creative possibilities. From finding the perfect design to mastering the application and aftercare, each step contributes to a stunning piece of body art that reflects your unique personality. Whether you opt for a simple, elegant design or a bold, intricate masterpiece, remember that your leg tattoo is a personal statement. With the right inspiration, a well-crafted stencil, and diligent aftercare, your leg tattoo will be a source of pride and admiration for years to come. So go ahead, embrace your creativity, and let your legs tell your story!